Multistrada 1200 DIY Screen Spacers
See also: Aztec Screen Spacers
(Multistrada 1200 – Fix / Greatly Reduce Wind Noise & Buffeting)
See also: How to make Wind Deflector ‘Wings’ for a Ducati Multistrada 1200
An article following on from my previous article “OZ Wings – Multistrada Wind Deflectors, Concept to Reality” and describes how to make Wind Deflectors (WD’s).
‘Oz Wings’ – formerly known as ‘Hiss Flaps’ and later ‘CP Wings’
Multistrada 1200 DIY Screen Spacers
One of the the techniques some Multistrada 1200 owners (2010 – 2012 bikes) have used to improve the performance of the screen (reduction in turbulence and wind noise) is to add spacers between the screen and the screen mount.
MTS1200 How to space the windscreen from the nose fairing with carbon fibre tube
By TimOz – see the original forum discussion here
I had been fiddling with my screen to space it out and make the angle steeper. I am reasonably tall and have a Zumo660 on a Navihalter with a Touratech locking frame fitted. I also have a bolted on Laminar Lip fitted.
I needed to:
1. Make room for the Navihalter and the Lock to flip up and back.
2. But mainly to increase the screen angle so the wind is deflected higher and buffeting is reduced.
This was my last experiment that was not so good:

I had fitted anodised alloy spacers (I think they are old indicator spacers or something) and the screen placement was good but they are ugly, reflect sunlight and don’t line up well. Back to the drawing board seeking the same screen spacing but a better mounting system.
I found these carbon tubes at a local hobby supplier:

The larger one is a 14 mm O.D. is 1 meter long, has an I.D. of 12 mm and cost AUD $40.00. The smaller is 12 mm O.D. 1 meter long, has an I.D. of 10 mm I.D and cost AUD $32.00. I=t fits exactly into 14 mm O.D. tube.
These are CarbonTec brand that use a ‘Roll-Wrapping’ manufacturing method. It is lighter, stiffer and stronger. It uses pre-preg carbon, is wrapped, cured and then machined so the dimensions are exact. They are used for model construction like sponson connectors for racing multihull boats.
I got it here from eBay: Carbon Tube 10.0mm x 9.0mm x 1000mm, carbon spar, foamie, parkflier, kite
If you look around, you can get a few types of Carbon tubing. There is stuff called “pultruded”. This is cheaper and is black but the fibres are almost all longitudinal. It is strong but will split easily. It is also not exact dimensions.
Construction – I got the following:
- M5 socket head cap screws 2 x 40mm, 1 x 20mm (I got gold ’cause it was what the shop had).
- Stainless washers
- Silastic tubing for alignment
I cut 2 x 30mm and 1 x 12mm of the 14mmOD carbon tube and cut 2 x 20mm of the 12mmOD carbon tube.
This photo shows one of the top fittings (you need 2) and the bottom fitting.

This is way more complex than needed. I did it like this with 2 tubes and the rubber grommet as I can slightly adjust the angle by winding out the top gold screws. If I did it again I would just use 2 x 30mm sections of 14mm tube for the top mounts, a 12mm section of 14mm tube for the bottom mount and use washers to protect the screen and leave it at that.
Anyway, I needed to use a dremel to sand out the inside of the 14mm tube:

…and slightly sand the mounting pegs that the screws fit into on the screen frame:

…to get the carbon tube to fit nicely over these pegs like this:

Fit the parts together. Screw on. Looks like this:

I think it looks good and is not obtrusive. Note that if you were concerned about cosmetics, you could wrap the tubes in carbon cloth, epoxy and urethane coat for that “carbon weave” look. I don’t care.
The results…

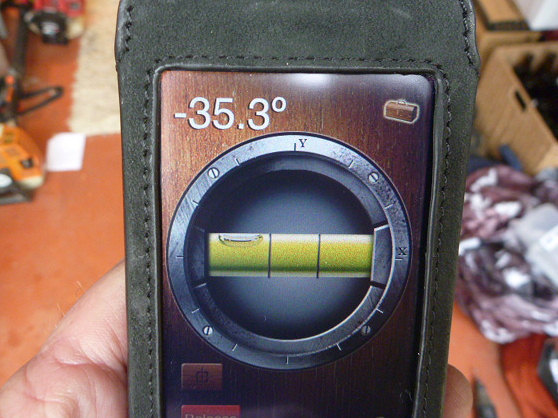
Old screen angle:

New screen angle:

So I have tilted the screen forwards by 6.3 degrees and spaced it out by 4mm at the bottom mounting pegs and 22mm at the top mounting pegs.
I went for a long ride into the country. I can say that I can easily ride with the visor up without buffeting or too much noise. You can put your hand up and feel the airstream pass just over the peak but the screen is still far below my line of sight. The GPS is easy to see, the dash is still totally visible.
I found a convenient country racetrack and got the bike up to about 220km/hr (202 on the GPS). It was totally stable, even though the racetrack was pretty choppy. there were some medium strength crosswind and the bike was fine. Some of the crosswinds did cause some noise and helmet buffeting but only at speeds more than about 160km/hr. Gotta be happy with that.