Multistrada 1200 Electronic Keyless Fuel Cap Install
Updated Apr2012 (additional comments added)
One of the official Ducati (DP) accessory options for the Multistrada 1200 is the electronic keyless fuel filler cap.
This looks like a pretty time consuming job, possibly not for the faint hearted (!) but whilst I don’t know the cost of fitting the keyless electronic fuel cap by a Dealer I imagine it will be a pretty hefty sum! (anyone?). However, installation by a Dealer at one of the major service intervals when the fuel tank has to come off anyway might be good value;-)
Installation guide / advice on fitting below.

See additional comments below Eric’s writeup.
Larger images here (to come)
Electronic Fuel Cap Installation – 2011 Ducati Multistrada
by Eric Volpe Sep2011
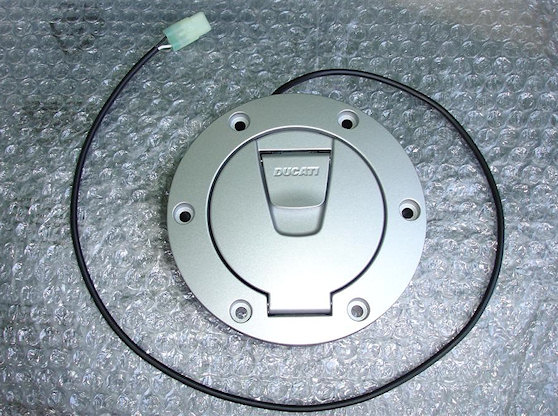
The following documents the installation of the Electronic Fuel Cap, Ducati PN: 96783410D on my 2011 Multistrada. From what I hear and have read every bike can be different with the location of the gas cap electrical connector. Mine was under the tank near the “hands free” system.
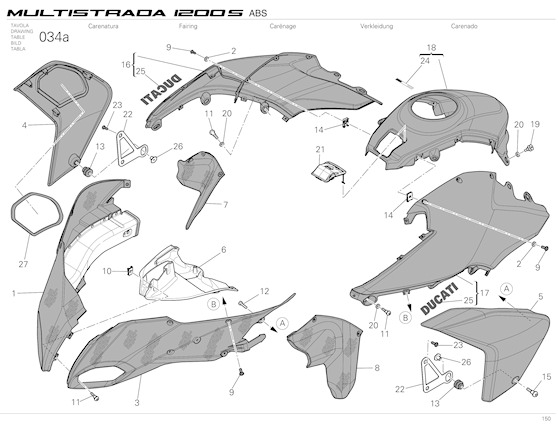
In order to get access to the connector I had to remove all faring parts, including the instrument panel, and bolts to the gas tank. Once tanks bolts were removed I was able to lift the tank, remove the black harness connector cap and mate the new keyless cap connector. Looking back I could have taken more pictures but once I got into the work, the picture documentation thought tended to slip from my mind.
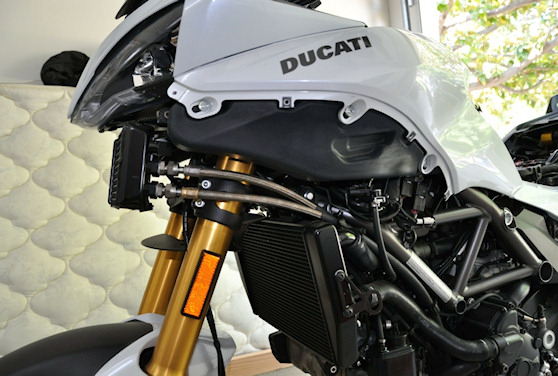
Lower faring and front fender removed…
Make sure the screws under the fuse panel and storage compartment are removed.
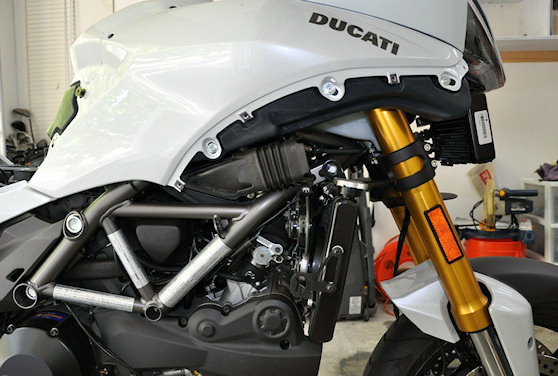
Remove the middle faring panels.
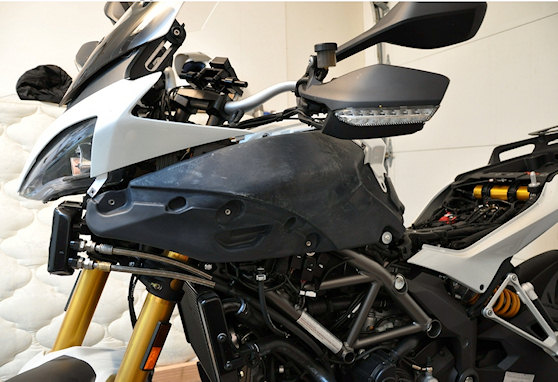
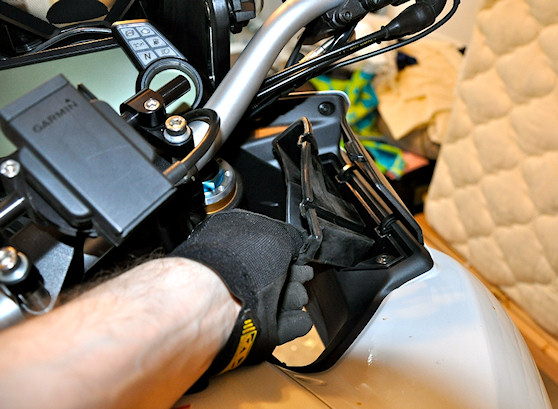
This is the last piece to remove from around the gas cap
Wow, I couldn’t believe I had to get the bike to this point, but I wanted as much force free access as possible to the connector
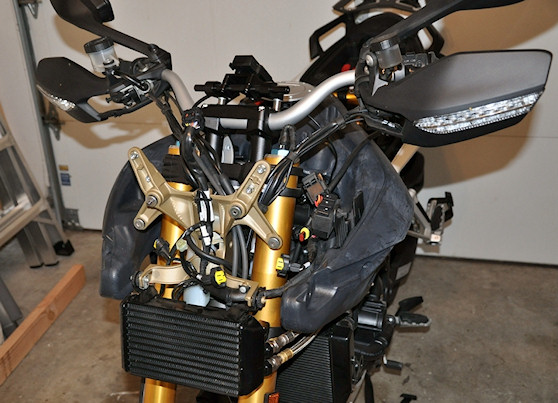
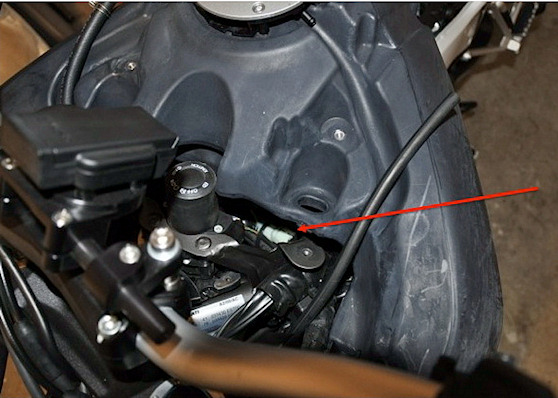
Had to cut the ties off securing the harness into the bike to get the extra length in the harness so I could lift the tank. I then rescued the harness back to its original place once done with the tank..
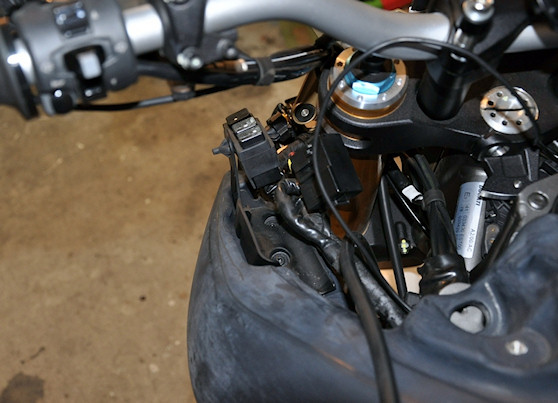
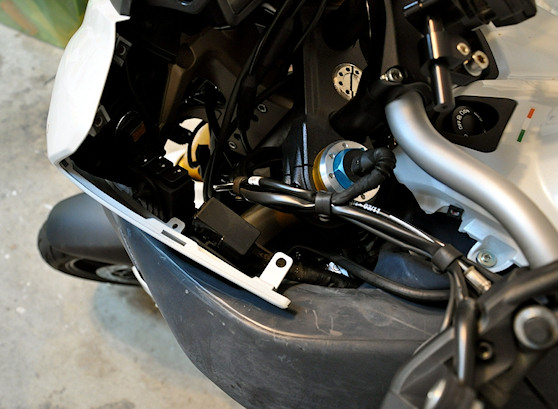
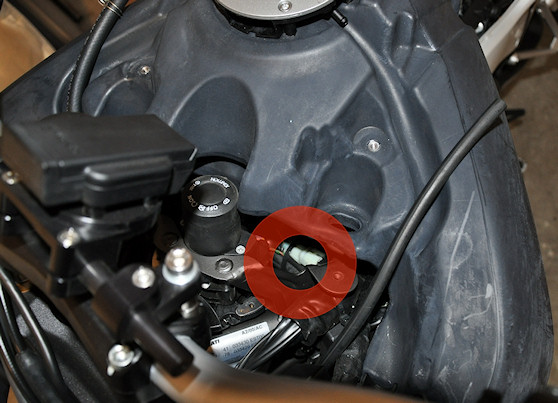
The connector! There it is just under the tank next to the “hands free” system button
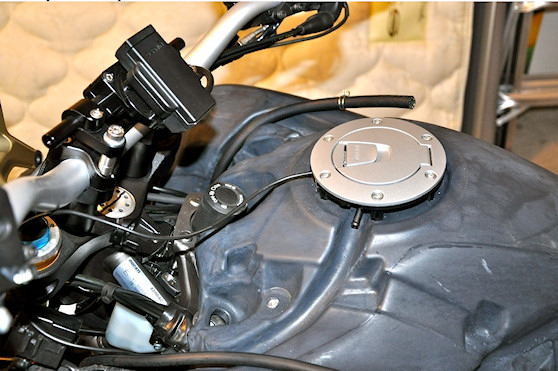
New cap bolted in place and harness mated
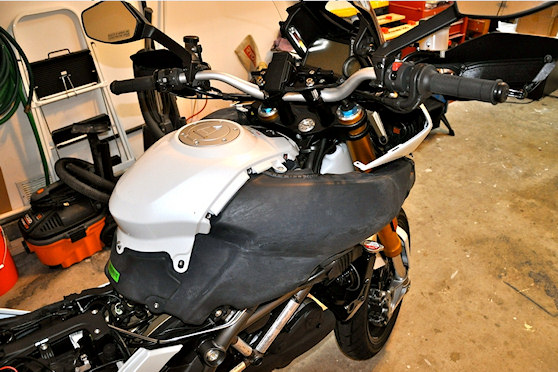
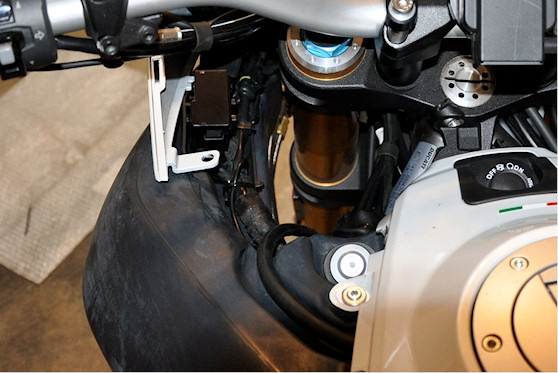
Now with cap installed, reverse the process of fairing installation. Here’s a shot of fuel cap tube in place and harness secured.
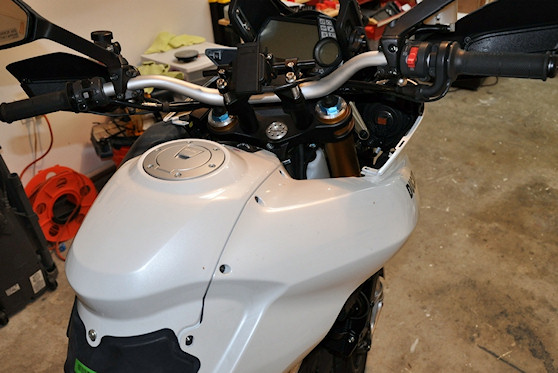
Pretty much back together and looking great!
This concludes my documentation.
Eric Volpe
Comments:
There’s a couple of additional photos here from JohnW.
Prior to Eric sending me his writeup I had trawled the forums for info and did come up with a some comments that may help:
See: http://www.ducati.ms/forums/44-multistrada/95751-dp-keyless-fuel-cap-power-source-location.html
…and:
http://www.ducati.ms/forums/44-multistrada/92243-electric-fuel-cap.html
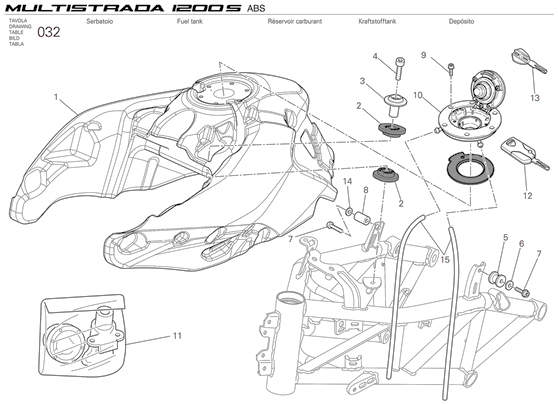
Electronic Keyless Fuel Filler – Some people have expressed concerns re not being able to refuel in the event of some form of electronic or electrical failure. On the face of it you only have to undo six Allen screws to remove the filler cap unit. However having done so the cap assembly still cannot be easily removed due to the breather and overflow pipes attached. With the use of long nose pliers it may well be possible to detach the pipes but the likely hood of reattaching with the limited access is slim.
The two plastic tank side panels will have to come off to allow removal of the centre panel. Some discussion here
Comment by ‘Technomad’
Phew! Just finished installing the keyless fuel cap: bodywork strip down – 2 hours and 42 bolts; install new fuel cap – 10 minutes. Find trigger cable to plug new fuel cap into – 45 minutes and a phone call to John W (I found it 5 seconds after coming off the call, thanks to his pointing me in the right direction); reassemble bodywork: 1 hour. Number of bits left over: 1 (found a rubber isolation washer lying on the ground – suspect it’s off the oil cooler…). Took pictures and will post details to help those who come after…
But it’s nice to have the full keyless experience (well, apart from the seat and panniers, that is…)
Comment by ‘pdm-dk’
When you know what body panels are screwed together, you can cut a few corners. The whole beak can be taken off without disassembling it, and some of the panels are screwed together, and can be taken off without disassembly as well. For install of the keyless thingy, you can actually get to the fuelcap with removing very few screws, but I don’t know where to hook up the power, so maybe that requires removing more than needed. 2 hours is probably right if it’s your first time, but later on, it can be done much much quicker.
Comment by John W
…I had one instance of it not opening, quite soon after fitting it.
I put this down to my poor positioning of the connector, as I had tie-wrapped it in an exposed position running vertically (cables going north-south). I think the water may have gotten in. Note that this is only a guess.
Given that I had placed the connector where it could be got at, I simply unplugged and replugged, and it sprang into life.
Since then I’ve repositioned it and had no problems since.
Although it may be possible to fit the filler flap without having to remove the tank cover, you may have a real job trying to get the cable with connector down between tank and cover, there isn’t much clearance.
It would be possible to fit it with only removing one side panel (I’d suggest right hand side) and not fully removing the central panel. I don’t know for sure though as I took all panels off.
Comment by ‘Fultank’ (aka David)
It has been some time since my install and am only able to give this meager advice.
The wires are brown and yellow.
Test to see that the electric cap is functioning properly BEFORE re-assembly of tank covers and nose plastic/carbon.
One could save time by combining the install with the alarm, GPS, heated grips, carbon nose and/or Termi kit (ECU access;-) which also require access to ‘hidden’ connectors.
If my memory serves correctly, the wire routing diagram is included in the Workshop Manual. I routed mine a bit differently.
My Multi is a U.S.A. emission spec model, complete with charcoal evap canister. In hindsight, if I were to install the cap again, I would have added a longer overflow hose on the cap. This would eliminate any splice in the overflow hose for the charcoal/evap canister equipped Multistradas.