Multistrada 1200 – Access to and/or Removal of the Engine Management ECU
Multistrada 1200 – accessing the engine management / injection control unit (EMS) / electronic control unit (ECU) for example to replace with an upgraded ECU (i.e. custom remap / remapped) for example the ‘Race’ ECU that comes with the full Termignoni exhaust system.
Just for info: The stock / OE Diavel ECU can be reflashed to a stock Multistrada 1200 data set….and vice versa I guess.


(A) / (2) ECU – Engine Control Unit / Injection Control Unit (EMS)
(B) / (1) Injection relay
(C) / (3) ETV relay (operating throttle valve motor)
(D) / (4) Radiator cooling fan relay

(2) ECU Connector 1 Injection control unit (EMS)
(3) ECU Connector 2 Injection control unit (EMS)
(4) Injection relay
(5) Ride-by-wire relay (ETV)
(6) Radiator fan relay
(7) Horizontal MAP sensor
(8) GPS / SatNav power lead/connector (blanked, not in use)
TIP: It’s always recommended to disconnect the battery when working on the bike’s electrics / electrical components 😉
Multistrada 1200 Guide for ECU Removal (fuel Injection Control Unit)
By Ducati.ms member ‘MrSweden’ Dec2011
Original post here on page 10 of this discussion: MTS 1200 O2 Optimizers installed
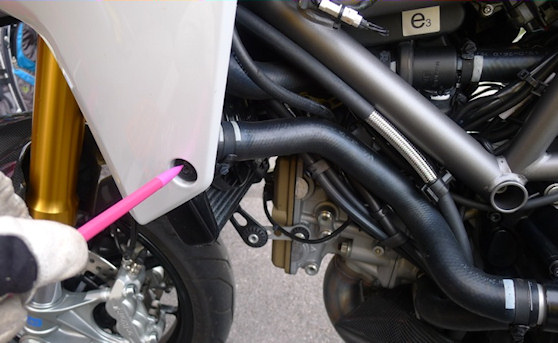
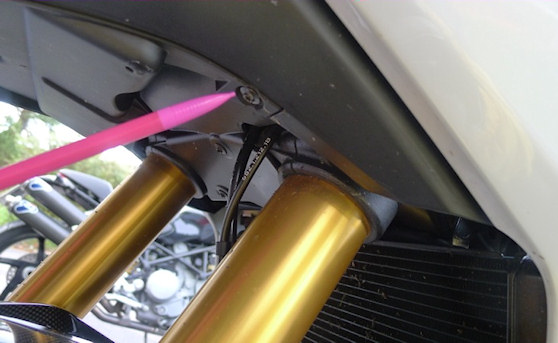
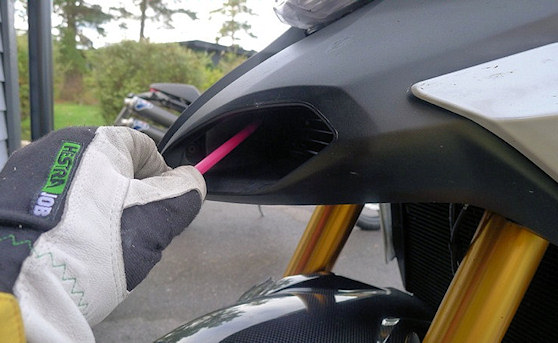
The pics are self explanatory except for the last 2-3. See notes below the pics for more info. Note: You do this on your own risk. I can’t be held responsible if you fail!


[EDIT = AndyW]…and remove the 4th fixing screw (arrowed) [no photo]
The black plastic fusebox panel can be removed now with a little jiggling to release it from locating pegs.


[EDIT = AndyW] Having removed the trim panel shown above it is possible to access the ECU for removal however, particularly if you have not done this before, it makes life easier to continue following MrS’s guide below for easier access.


Now it’s time for the tricky part. There is a torx screw which is placed a bit tight. I used a torx bit and an adjustable wrench. I put the torx bit in the screw and used the wrench to loosen it.
After removing the clip which holds the ecu, use your right hand to move the ecu forward a bit. Then use your right hand and with your pointing finger press a clip on the backside of the ecu. There are 2 connectors which have to be loosened. It’s hard to describe this in detail and it’s narrow and you can’t see anything. In the next post you can see the backside of the ECU.


The side shown is the side that is turned towards the engine, inwards. You can see the plastic clips which connects to the connectors.
I will repeat that you do this on your own risk. Are you uncertain contact your dealer. I can’t be held responsible if you fail.
Please note that the screws may need some lubrication in order to release. I use 5×56 or WD40.